
Mar 2, 2023
Tips on Taking the Best Travel Photos
You always want to remember your vacation on the Peaceful Side of the Great Smoky Mountains. The Smokies are one of the most beautiful places in the world, so there will be no shortage of photo opportunities during your stay. We put together expert advice to ensure you take the best travel photos on your visit.
Travel Photo Tips
Plan Ahead
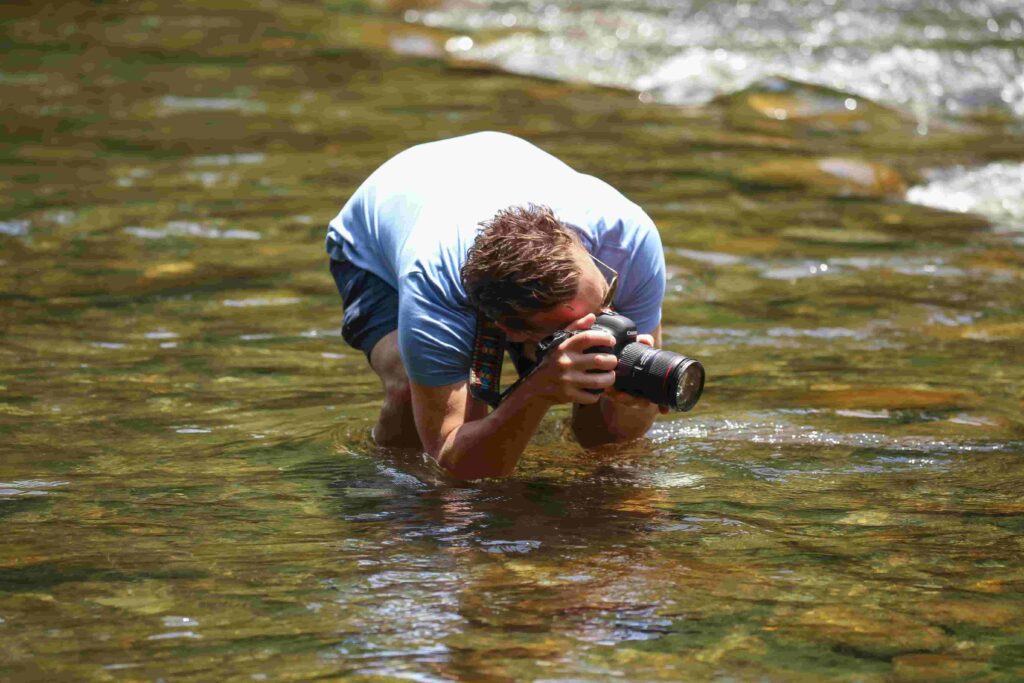
- Get to know your camera. Pull out your camera’s instruction booklet and get comfortable with the different buttons and settings. If you’ll catch most of your memories on your phone, play around and get comfortable with the various features, like portrait or panorama modes. Remember a tripod. Pro Tip: Use the camera on your phone, not one built into apps like Snapchat or Instagram. These apps can reduce the original image size, making them terrible for printing.
- Research the locations you’ll be visiting to find popular photo spots, the best times of day for lighting, and when is the best time to avoid crowds.
- Pick a theme or something to photograph each trip, like morning dew on a spring bloom or diverse wildlife. Another idea is to pick a handful of items you want to find: a trail sign, a creek, your favorite thing about your hotel or Airbnb, a chainsaw carving by Bubba Daniel, or your favorite mountain view. Those five items can tell the story of your day, ending with a selfie of yourself at Dancing Bear Bistro for dinner.
Use the Rule of Thirds
- Simply put, take pictures of your subject off-center. The Rule of Thirds states that the best place for your subject is where the horizontal and vertical lines cross. Place your subjects in the image’s righthand, lefthand, top, or bottom third. Some phones and cameras have grid settings to help you visually divide your image.
- You can also use your Rule of Thirds gridlines as a perfect guide for the horizon, allowing for straight photos.
- Pro Tip: Experiment with angles. Try shooting from different perspectives, using high or low angles, to add depth and dimension to your photos.
Simplify the Clutter
- Instead of photographing the whole forest in one frame, focus on one subject, like an Eastern Sweetshrub, and use the forest as a backdrop. The eye wants to land on something in the frame, then take in the rest of the photo. If an image is too cluttered, your audience will not know where to focus.
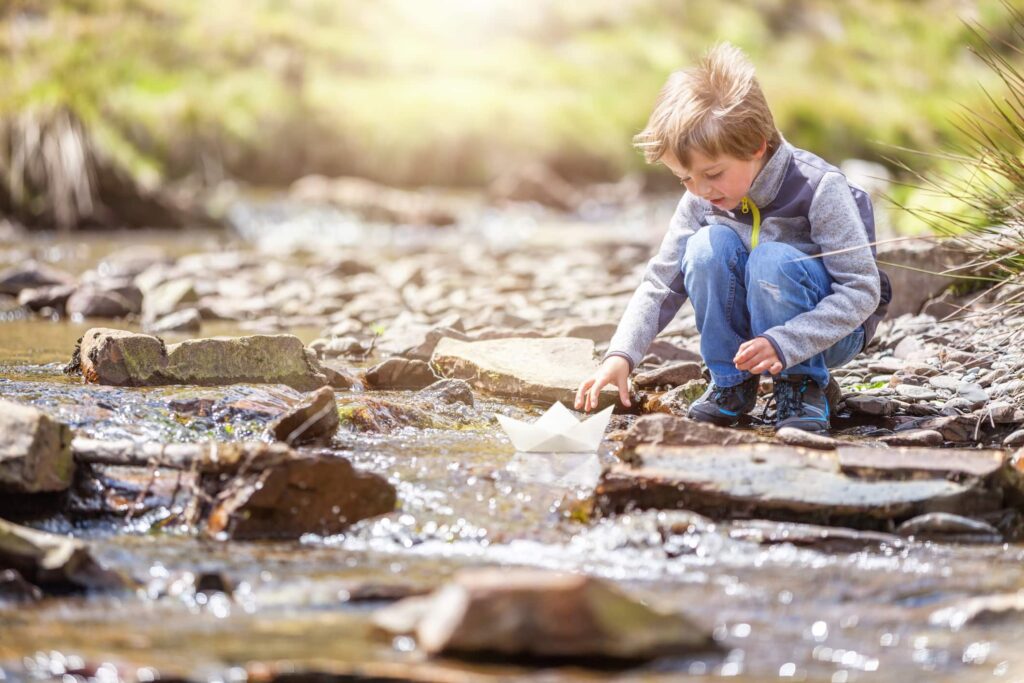
- Showing the subject in its environment tells a story by placing the subject in the environment without losing the subject in the entire scene. You can do this with a somewhat shallow depth of field, placing your daughter off to the side and in the foreground so that the background is identifiable but slightly blurry. It is the shock of cold you want to see on your daughter’s face but identifying the river as the source of emotion. The portrait mode of your phone’s camera can automatically create this effect. Pro Tip: If you can find a pattern, and something that breaks it, definitely take the shot.

Take Photographs of People
- Yes, Clingman’s Dome is breathtaking, but you can Google professional pictures of Clingman’s Dome anytime. The wonder on your child’s face when they see all the reds, blues, yellows, and greens of a Smoky Mountain sunset that’s an image worth more than any you could Google.
- Take a picture of that perfect sunset, but take the family pictures or goofy selfies first.
- Capture candid moments: Don’t just focus on posed photos; some of the most memorable vacation photos capture genuine, spontaneous moments.
- Incorporate people and local culture. Including people and elements of the local culture can help bring your vacation photos to life and make them more unique. Pro Tip: Be sure to ask for permission where necessary.

Follow the Light
- One of the biggest amateur mistakes in vacation photos is shooting into the light. Photos or videos with light behind the subject, rather than in front, expose the background but leaves faces darkened by shadows. Always let light hit the focus of your subject. Always look at the light.
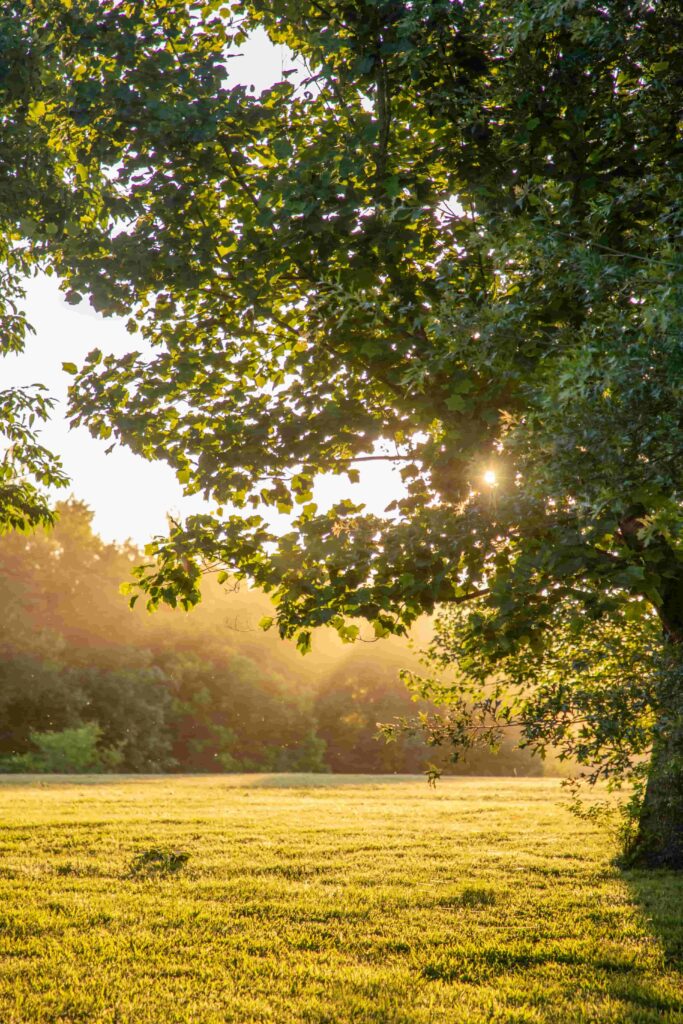
- Focus on Golden and Blue Hours. The Golden Hour is that first hour, as the sun peaks over the horizon in the morning or the last hour before the sun sets. The light casts a warm, mystical glow on the world. The Blue Hour is when the sun has fallen behind the horizon, giving off a blue and violet hue. Remember to set your morning alarm depending on where you want to get photos on the Peaceful Side. Pro Tip: Stay around if sunrise or sunset could be more impressive. You never know when the clouds will break or the sky will burst into brilliant color.
- Pro Tip: Whatever you do, don’t use flash. Instead, look for ambient light around you, like street lights. Another approach is to find a pool of light and step into it, or as a last resort, use the “night mode” on your phone.
Forget About Social Media
- Don’t focus exclusively on the photos you think will get you the most “likes” on social media. The in-between moments will often capture the true nature of your family. If you are taking a video, these moments will make excellent b-roll content for editing. Keep it organic and loose by letting your vacation happen; capture those candid moments.
- Once you are on the plane or get back home and download all of your pictures, treat your social media as a highlight reel of your family’s best of the best.
- Pro Tip: Take time to enjoy your vacation instead of trying to one-up your frenemy from college.